M2Slim Install Guide
Step 6: Trim disk drive door.
Overview
This section covers the common steps that are needed to prepare the PS2 top shell for cutting and a simple trimming operation on the disk door to allow clearance for the SSD when it is closed.
Tools
Philips head #0 screwdriver
Knife or flush cutters
Step 6.1 Disassemble the disk drive door.
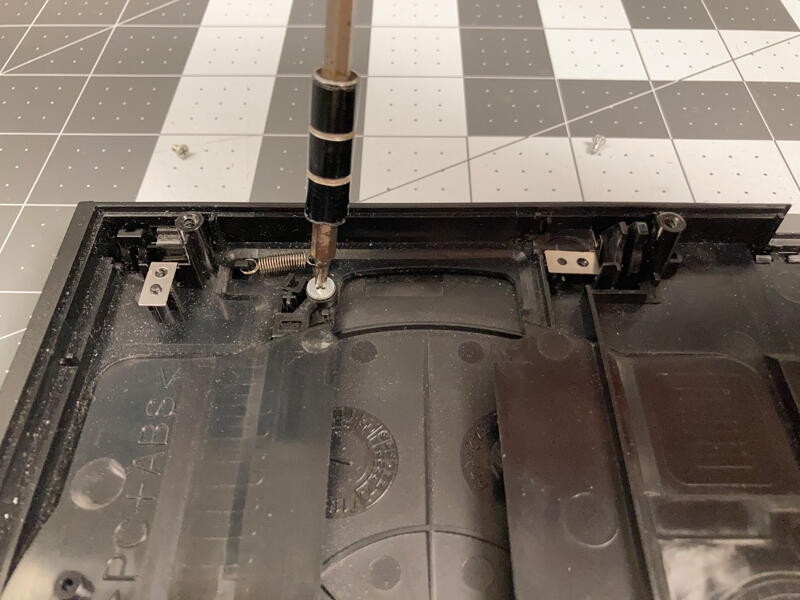
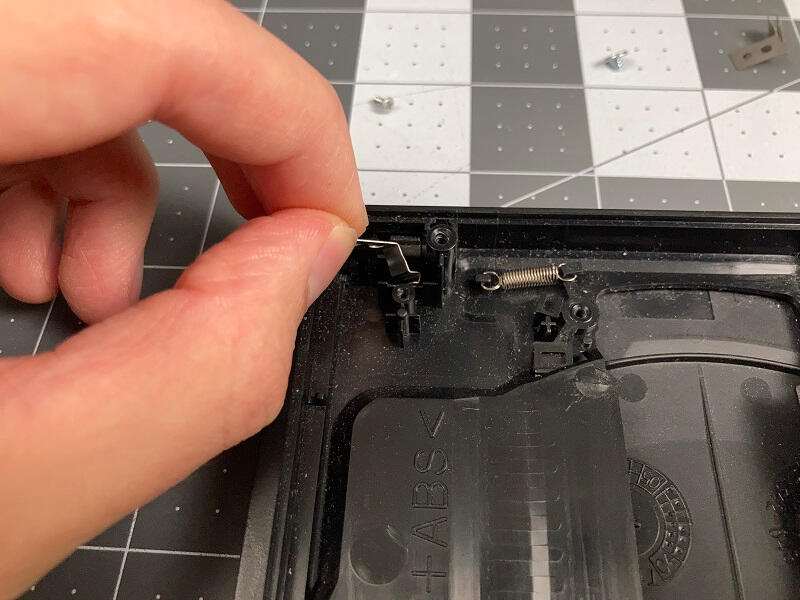
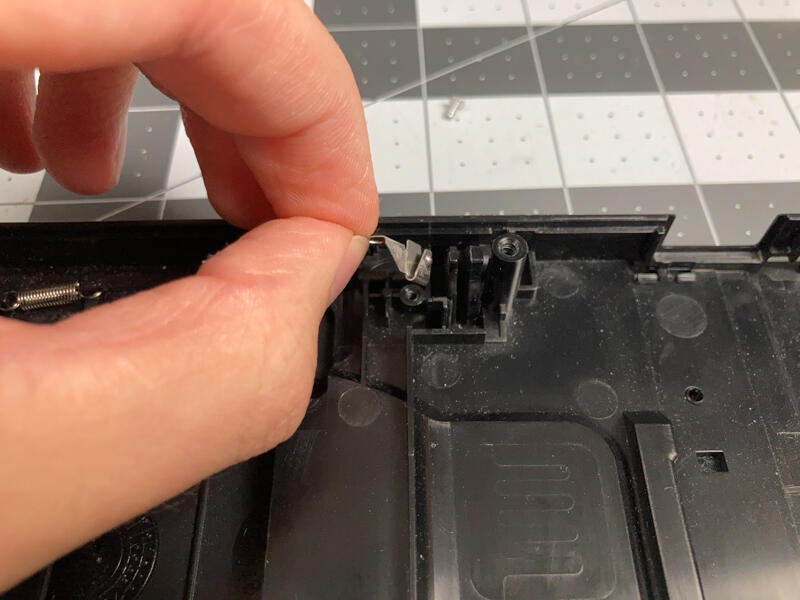
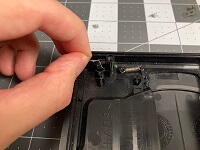
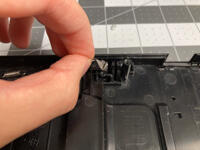
Remove the two screws holding the metal retention parts.
Lift them out.
Step 6.2 Remove disk brake mechanism
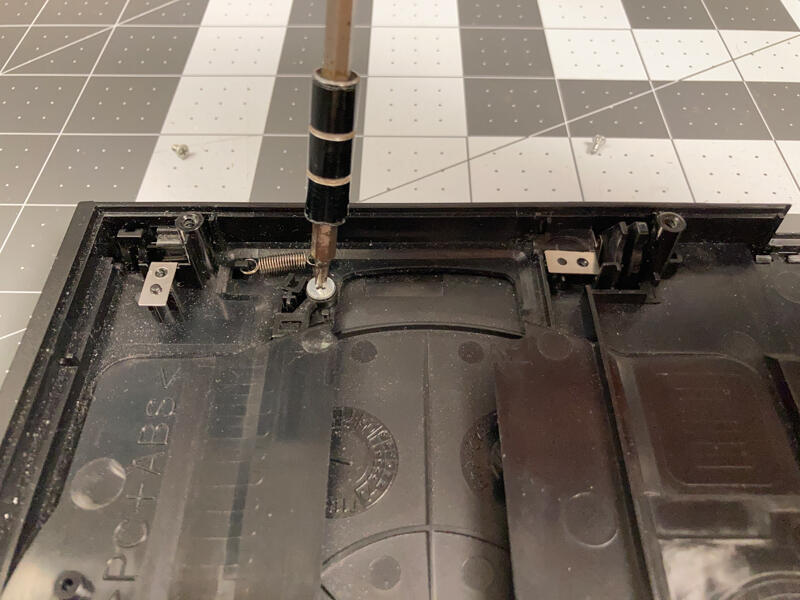
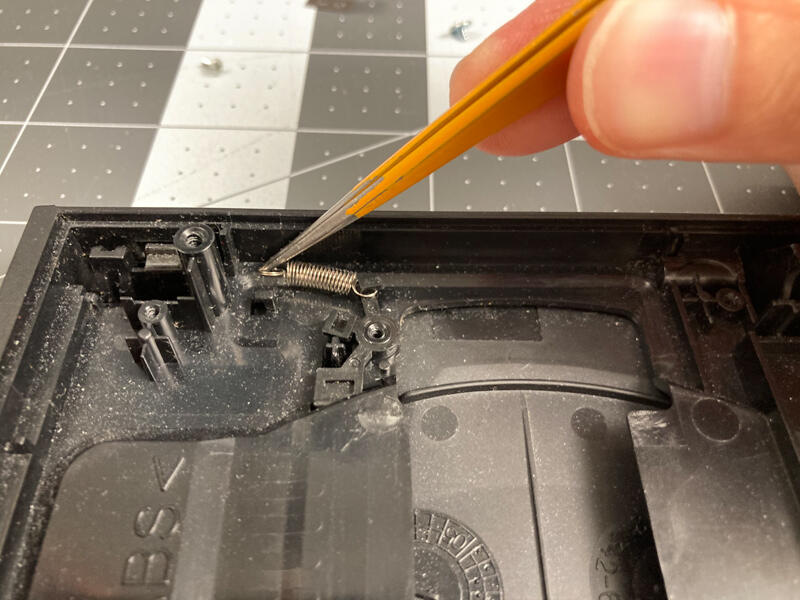
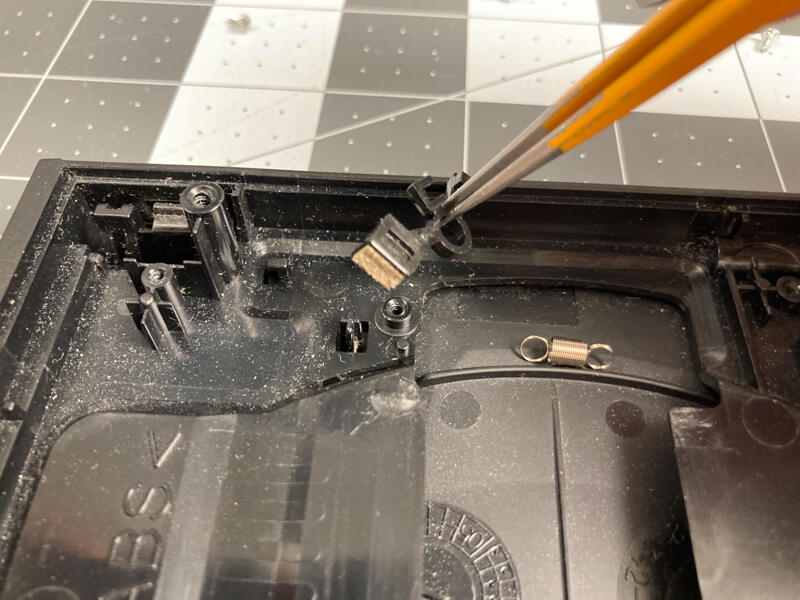
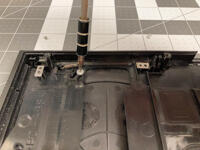
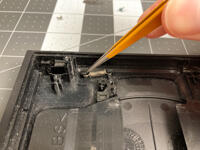
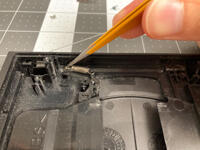
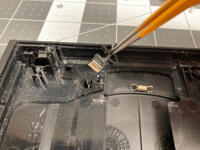
Unscrew the brake.
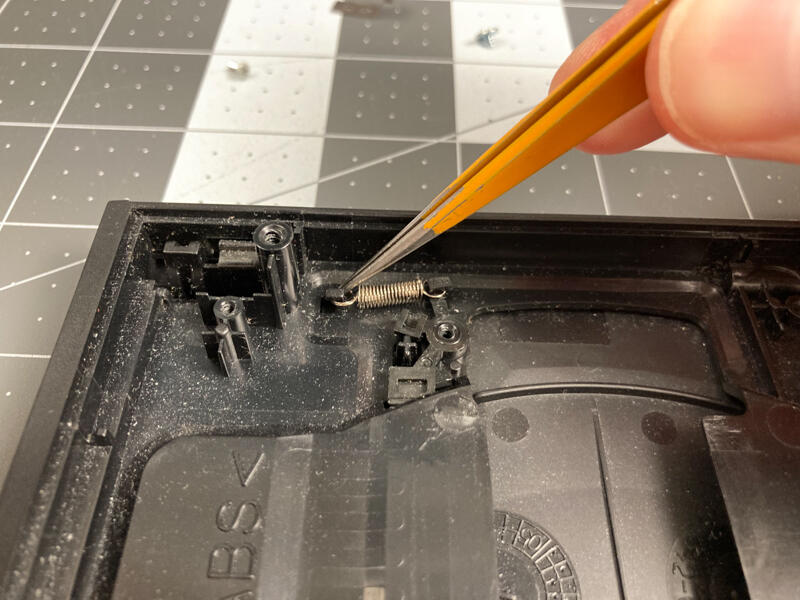
Remove the spring from the shell
Lift the brake out
It is a tight fit and might take a few attempts to fish out.
Step 6.3 Remove door
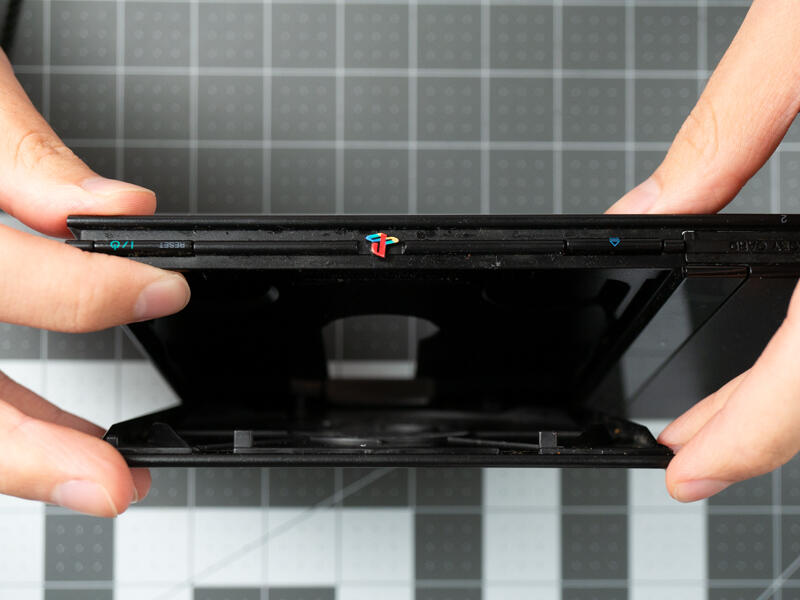
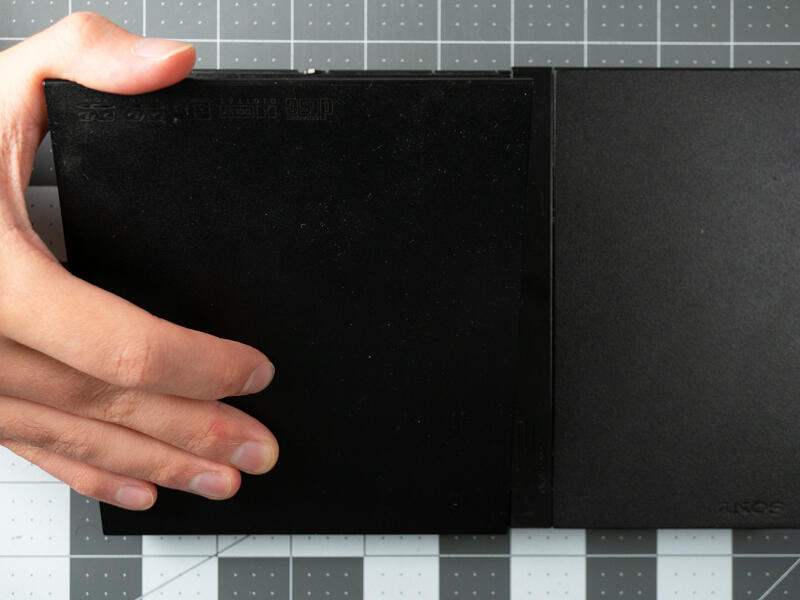
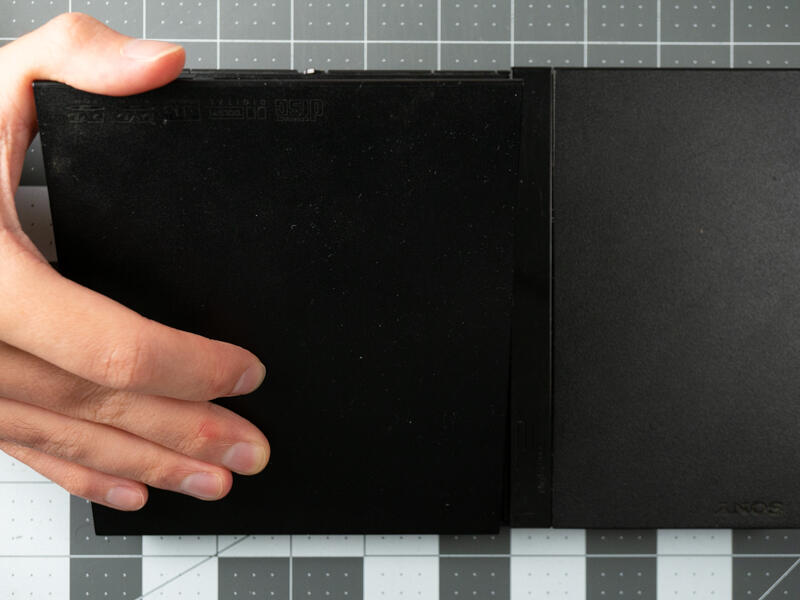
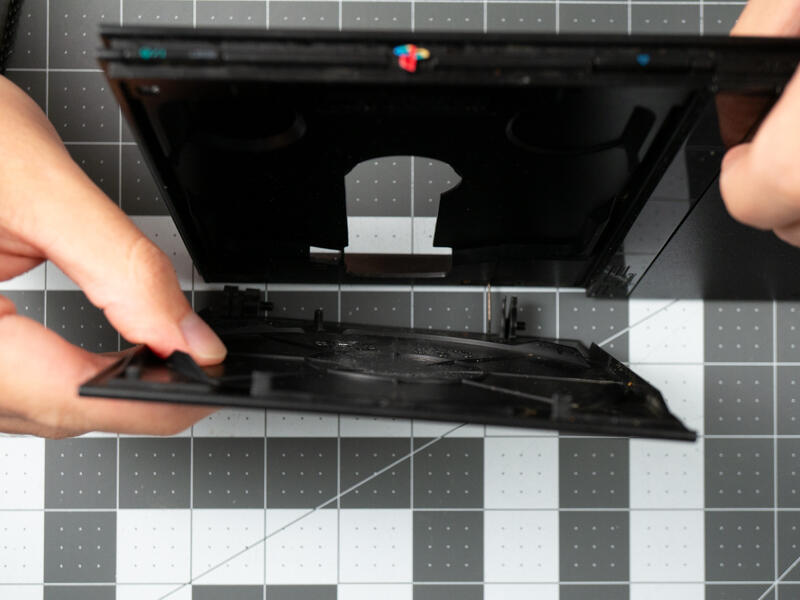
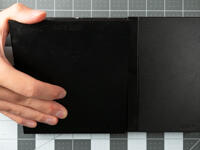
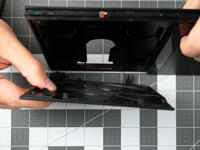
Open the door like shown.
Slide the door away from the shiny plastic strip.
The door should release and easily lift out.
Step 6.4 Remove door spring
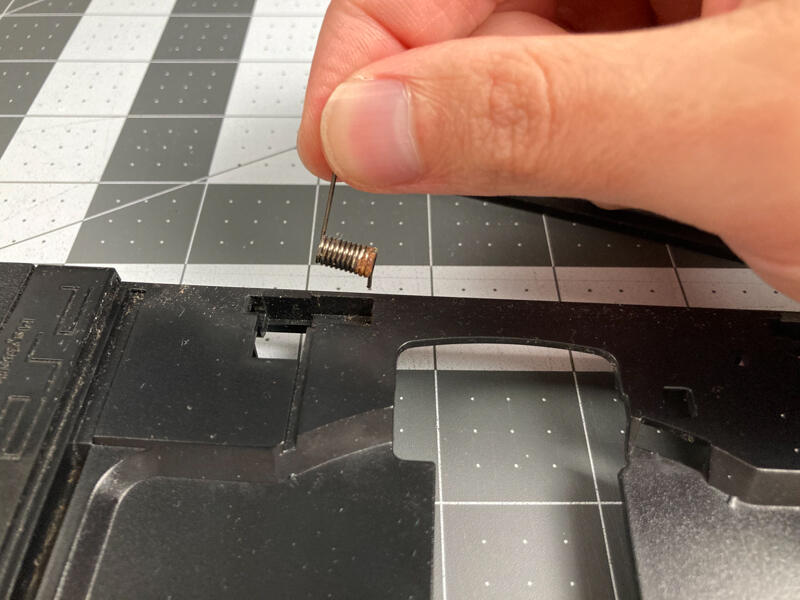
Lift the door spring out of its recess.
Step 7.1 Trim disk door
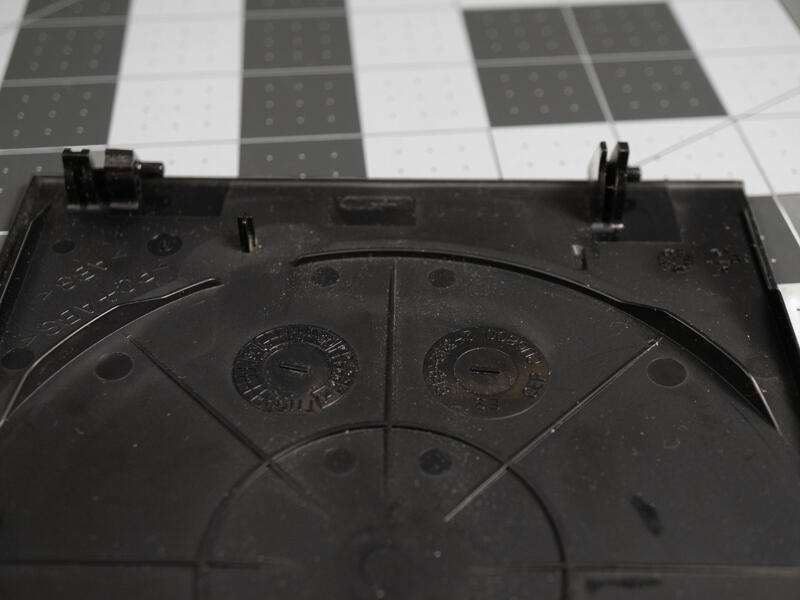
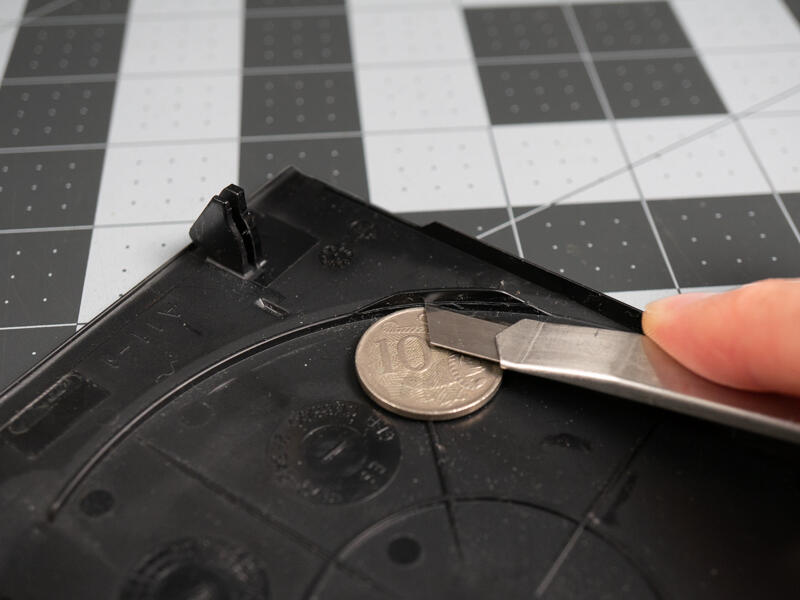
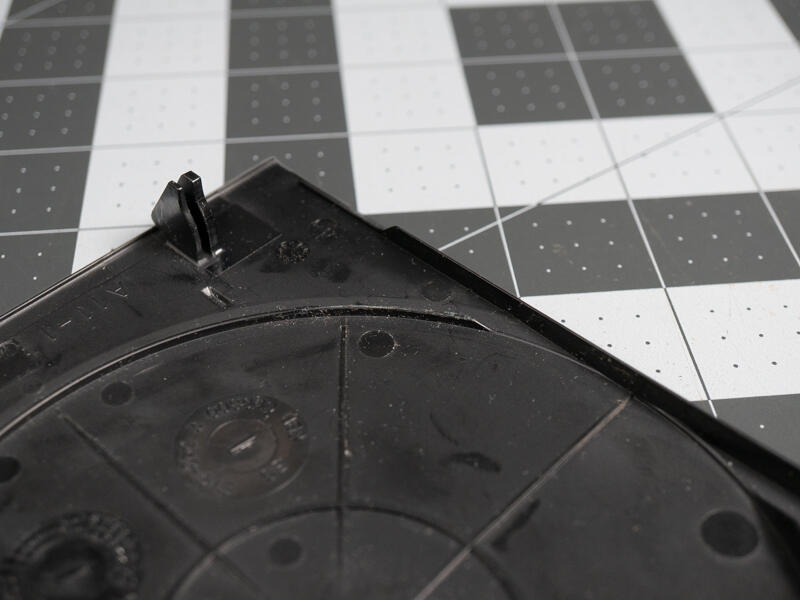
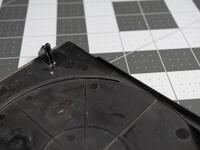
Remove the indicated plastic tab on the disk drive.
Use a small spacer such as a coin to score a line in the plastic.
Make repeated cuts with or without the spacer until the plastic is removed.
You may alternatively use flush cutters or any another tool you are comfortable with to remove this plastic.